

We're an affiliate
We hope you love the products we recommend! Just so you know, we may collect a share of sales or other compensation from the links on this page at no additional cost to you. Thank you if you use our links, we really appreciate it!
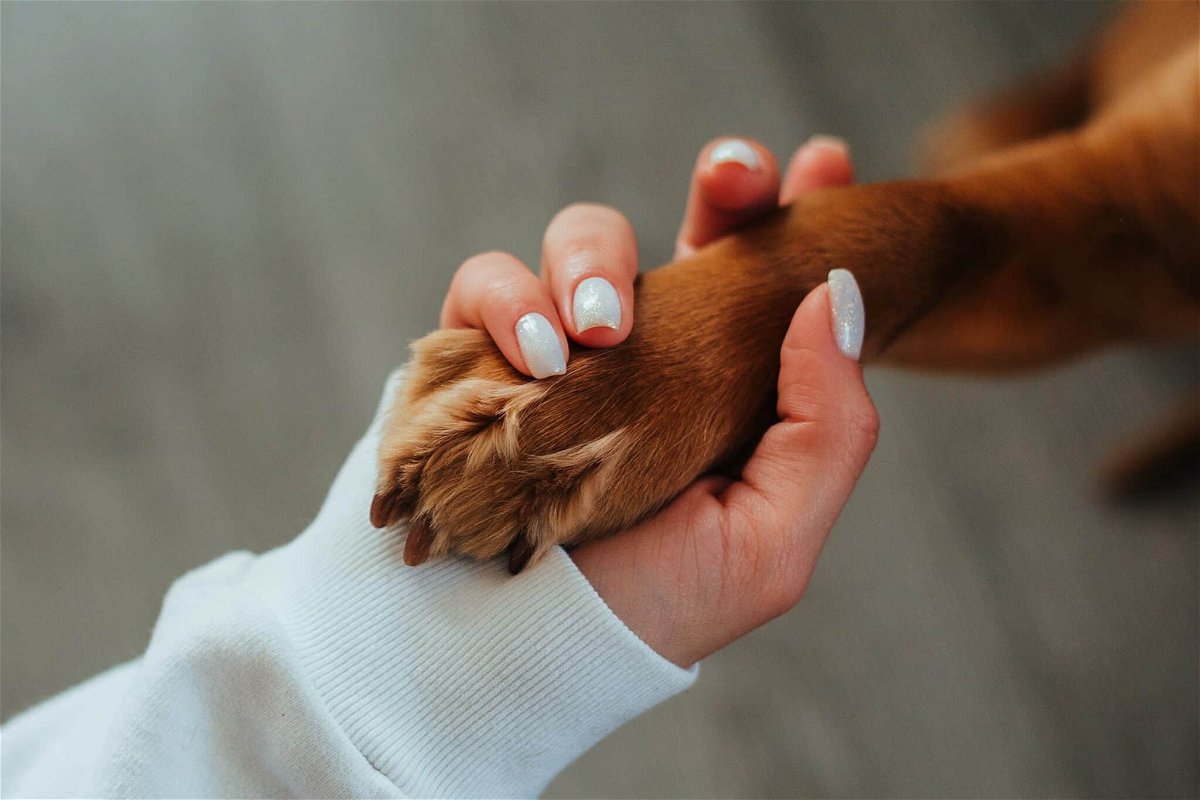
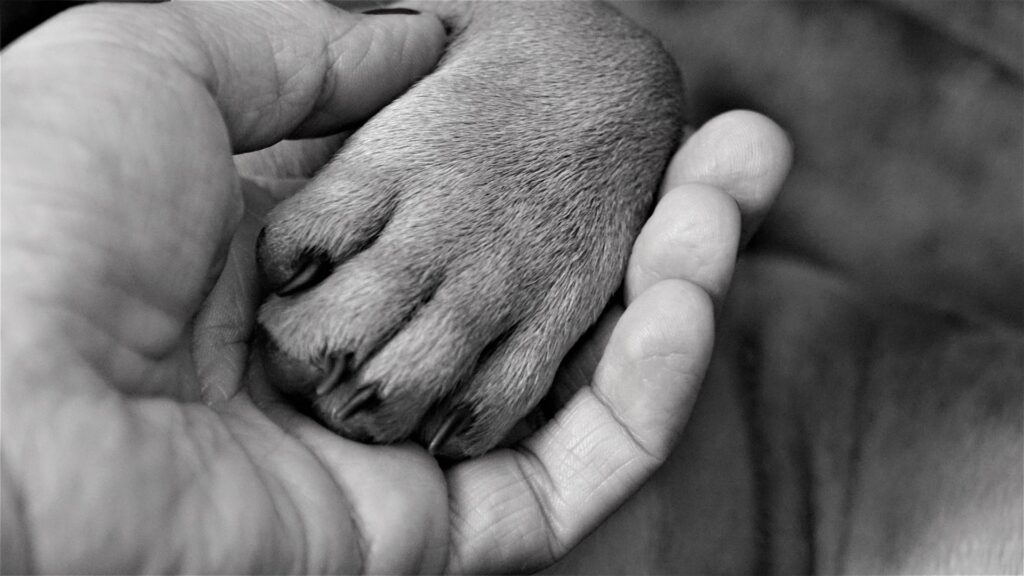
Dog nail grinding is a paw care procedure aimed at shortening your dog’s nails and smoothening the sharp nail edges.
The process involves filing down the toenail using grinding tools which are also commonly known as Dremel tools and Dremel grinders.
Dogs need their nails trimmed for a variety of reasons. Long nails make it difficult for dogs to walk comfortably, they may scratch the carpet, or furniture, or injure other pets during play.
Read on and find out how to grind dog nails at home; both light-colored and black, how often to do so, and how far you need to go when grinding.
How To Grind Dog Nail in 5 Steps
Grinding a dog’s nails can be an uphill task for many pet parents, but it doesn’t have to be that way. Here is an easy-to-follow guide that will help you trim your dog’s nails with ease:
Preparation
To begin, you’ll need to have the right tools that are safe for both you and your pooch. We recommend getting a cordless grinder with adjustable speed, minimal noise, strong bits, and a comfortable handle.
You can also go for the ones that have additional features to make the grinding more stress-free. Features such as LED lighting will allow you to focus on your dog’s nails.
Place your dog on a comfortable, non-slip surface where you can tidy their nails without much resistance.
This could be a grooming table, on the couch, carpet, or in an outdoor space. Make sure the place is calm and void of any distractions that may grab your dog’s attention.
You should always be prepared to stop the grinding process once your dog shows resistance or feels pain.

The Process
Step 1: Gently hold your dog’s toe pad with the thumb and use the index finger to push back the fur. If your dog has a lot of furs on their paws or between the toe pads, you can trim them to prevent grinding through the hair.
Step 2: Hold the grinding machine with the other hand and turn it on. Make sure to hold it firmly, preferably close to the rotating wheel.
This will give you better control of the situation. You should minimize the contact time of the rotating wheel and the nail to just a few seconds at a go. Prolonged contact might lead to excessive grinding.
Step 3: Carefully grind the nail by starting from the bottom and smoothing out all the sharp edges. Make sure to work on one nail at a time and don’t cut the quick.
You should always hold the tool at a 45-degree angle and make sure to shape the nail into its natural-looking position.
Step 4: Once you have shortened the nail to the desired length, you should then smoothen it by spinning the grinding wheel gently around the tip in a circular motion. You can change your sanding band on the tool to a finer one for the best results.
Step 5: Repeat the above procedure on all the other nails to complete the grooming process.
Once you have filled all the rough edges from all your dog’s nails, rinse out the dust with warm water and a clean piece of cloth.
Give your dog some treats during every break in the grooming session. This will help them create a good experience with the process and will be willing to continue with the process.
3 Challenges Expected When Grinding Dog’s Nails
You may experience some setbacks when trimming your dog’s nails, especially during the first few instances. Do not be disappointed once you encounter any challenge because there is always a way out.
1. Vibration noise
The vibration sound from the grinding tool might be too loud and scary for some dogs. If your dog seems tensed by the grinder’s noise, you should start slowly by familiarizing them with the tool.
Begin by turning on the grinder, letting it run for about 20 seconds, and turning it off without actually using it. Give your dog a yummy treat and repeat this process until your dog gets used to the vibrating sound.
This way, your pooch will associate the grinder with a good experience. When rewarding your dog, do so while their head is facing away from the grinder. You don’t want a situation where the dog sniffs around the machine while working.
2. Nail dust and odor
Grinding dog nails usually creates a cloud of rather smelly dust that may irritate you especially if you are sensitive.
You can put on some protective gear (goggles and mouth mask) while working with the grinder to reduce the effects of the dust.
You can also opt to grind your dog’s nail in an outdoor space where the wind can blow away the nail dust as you work.
3. Grinding heat
Grinding your dog’s nails continuously for a long period may build up heat on the sanding bands. This might be uncomfortable and dangerous for your pup especially when you nick the quick.
To prevent this, you need to take a short break between the grinding session to allow the tool to cool down.
How Often to Grind Dog Nails
You should grind your dog’s nails after about every 2 weeks but it also depends on how fast their nails grow and other individual circumstances.
As a guiding rule, dogs’ nails should not be tapping the floor when they stand. The moment you hear them ‘clicking’ on the floor when walking, just know it’s time to get their nails trimmed.
Grinding your dog’s nails regularly will also make you better every time and will improve your dog’s paw care experience.
Frequent grinding will also recede your dog’s quicks hence shortening their nails.
How Often to Trim and Grind Puppy Nails
Puppies’ nails usually grow faster than that of their adults. You should trim your puppy’s nails weekly or when they become too long or sharp.
Make sure to only trim small sections of the nail and grind to polish all the sharp edges. You wouldn’t want a sharp puppy’s nail to get hold of you!
How Far Should You Grind Dog Nails?
When trimming your dog’s nails, you should always be careful not to overdo it. Just shorten and smoothen the tip of the nail from the bottom part until just before the quick (vascular part that nourishes the nail).
Grinding your dog’s nails too much will nick into the quick and this can lead to bleeding and will be a painful experience for your doggo.
This might make your furry friend run away from future nail grooming sessions if you do not take steps to treat and calm them down.
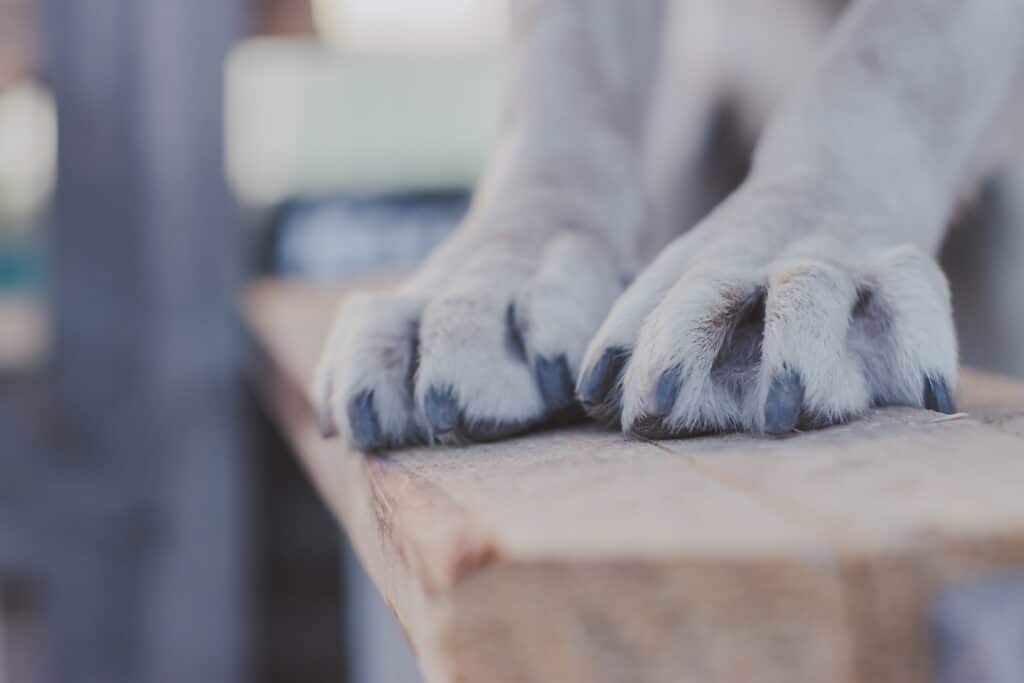
How To Grind Black Dog Nails
Grinding black dog nails can be frustrating because you may not easily find the quick. In light-colored dog nails, the quick is pink while the actual toenail is white, making it easier to spot where you should stop.
But for black dog nails, both the quick and the actual nail are black and you might find it difficult to know how far you should grind.
Look Out for The Pulp Instead of The Quick
For dogs with black nails, you are going to watch out for the pulp; which appears just before the quick. The pulp is round and much darker hence you can easily spot it with good focus.
When you come across the pulp, you need to stop grinding because you are now edging closer to the quick.
What To Do When You Nick the Quick
Having an accident when grinding your dog’s nail is not strange, especially when you are starting this process.
You should always have some styptic powder with you while trimming Fido’s nails just in case any accident occurs.
Once you notice that you have dented the quick, you should immediately stop and apply the styptic powder on the affected nail to stop the bleeding.
This remedy works by plugging the damaged blood vessel hence stopping the bleeding.
If your furry friend seems uncomfortable and in a lot of pain, you can distract their attention by using some treats and petting them smoothly.
You can check out other first aid procedures, but if the damage is too much, be sure to call the vet right away for professional treatment.
How To Grind Dog Nails That Are Overgrown
You should always be cautious when dealing with overgrown dog nails. Overly dense, curved, and strong nails can make your dog uncomfortable. And grinding them wrongly can only worsen the problem.
When you apply a grinding tool straight to an overgrown nail, it could put more pressure on the paw and might cause severe damage to your dog.
Doing this might also crack or break your dog’s nail at any point and this could be a source of more problems.
If your dog’s nails are highly overgrown, it is best to use a pair of dog nail clippers to trim the excess nail first before smoothing out the remaining bit.
Once you have clipped out the overgrown tip of the nail, you can now use your grinding tool to shorten and smoothen the edges.
Conclusion
There you have it, how to grind dog nails safely at home. It’s important to keep your dog’s nails short and neat for their comfort during walks and overall orthopedic health.
Grinding dog nails is the best way to keep them at the right size and smooth and you should always know when to stop.
Always proceed with caution when handling your dog’s paws, grind very small sections by bit, and never nick the quick.
If you’re not confident enough to do this process alone, feel free to involve a family member to help you out as you get better.
Laura is the founder of Furs'n'Paws. She is a also a pet writer and expert with more than 20 years of experience of working with dogs and cats. She developed a very strong love for animals at a young age. Her passion led her to establish a thriving pet sitting and dog walking business in Dubai. As an expert in pet training, behavior, and nutrition, Laura is committed to helping pet owners and pet lovers by offering high-quality information on a wide range of topics.
No responses yet