

We're an affiliate
We hope you love the products we recommend! Just so you know, we may collect a share of sales or other compensation from the links on this page at no additional cost to you. Thank you if you use our links, we really appreciate it!
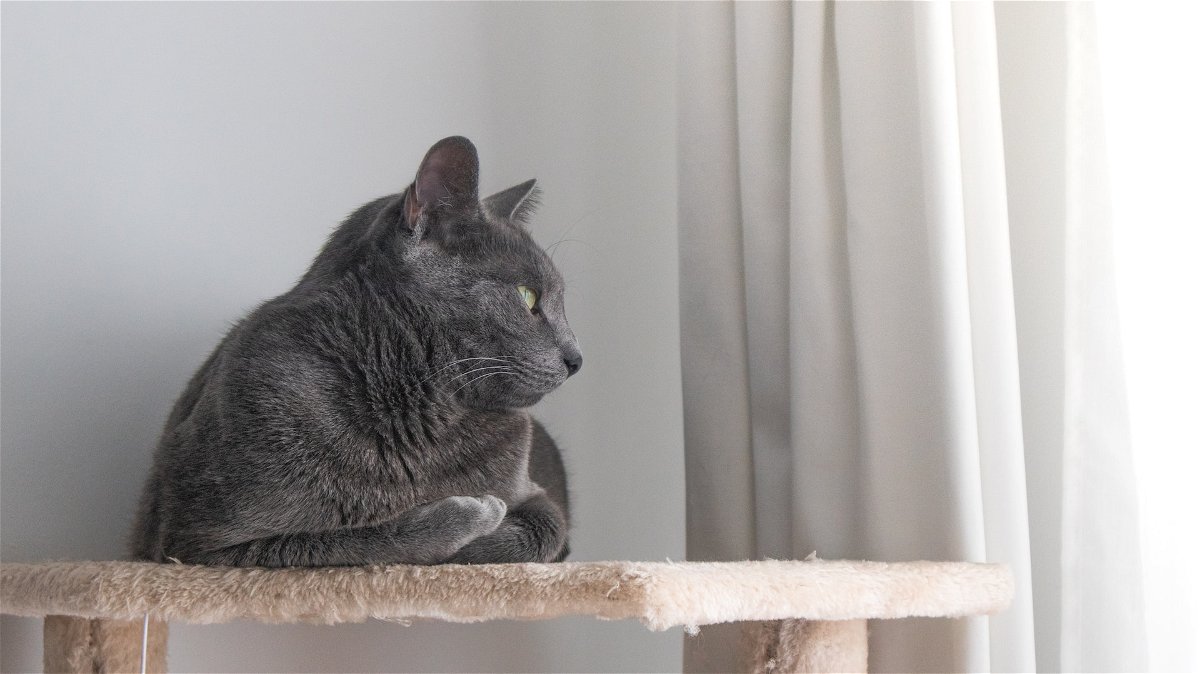
A well-furnished cat tree may be all your feline friend needs for endless indoor entertainment, napping, and physical stimulation.
If you’ve just bought your furbaby a suitable tree, congratulations! But remember this marks the beginning of another responsibility, which many people may fail to appreciate.
We are talking about regular cleaning and maintenance of your cat’s tower, to keep it in pristine condition free from germs and tough stains.
You already know that cats are very good when it comes to hygiene. Your feline friend may avoid using the cat tree altogether just because it is messed up with grime or foul odor.
Keep reading this post as we break down a stepwise process on how to clean a cat tree using readily available homecare supplies.
Why Cleaning a Cat Tree Is Important
A cat tree is just like any other piece of furniture in your home, and it deserves regular cleaning just like your favorite couch or coffee table.
The following are some of the reasons why you should roll up your sleeves and get your hands wet to clean your cat condo:

1. Health benefits for both the cat and humans
The major benefits of adopting a cat tree care routine go beyond the aesthetics. It has more to do with the health condition of the cat and other occupants in the house.
Messy cat trees can harbor various types of bacteria, parasites, and germs that could potentially infect your feline friend with deadly infections.
Wiping down your cat tree regularly can help prevent the build-up of dirt and the growth of pathogens, thus keeping your furry friend free from possible infections.
In addition to keeping your furbaby in fine fettle, a clean cat tree reduces the amount of pet allergens in the air. This is of great benefit to household members with allergies.
2. It offers odor control
Another benefit of cleaning your cat tree is the impeccable odor control against urine and spilled wet food.
Cats are very sensitive to smell, and as such, they may be discouraged from lounging or playing on cat trees with foul odors.
Cleaning your cat tree also prevents the unwanted odor from building up and spreading across your entire home.
This helps to make your living space cleaner, with a fresh rewarding atmosphere.
What Are the Supplies That You’ll Need?
Before you embark on the journey to clean your cat tree, you’ll want to ensure that you have the following supplies gathered together:
- Lint roller
- Pet-safe detergent
- Disinfectant
- Replacement parts (As needed)
- Protective gear
- Soft sponges or pieces of clothes
- Tools required for disassembling the tree
- Towels or rags
- Vacuum cleaner
- Water

After gathering your cleaning products, you can now proceed to start your cat tree care journey.
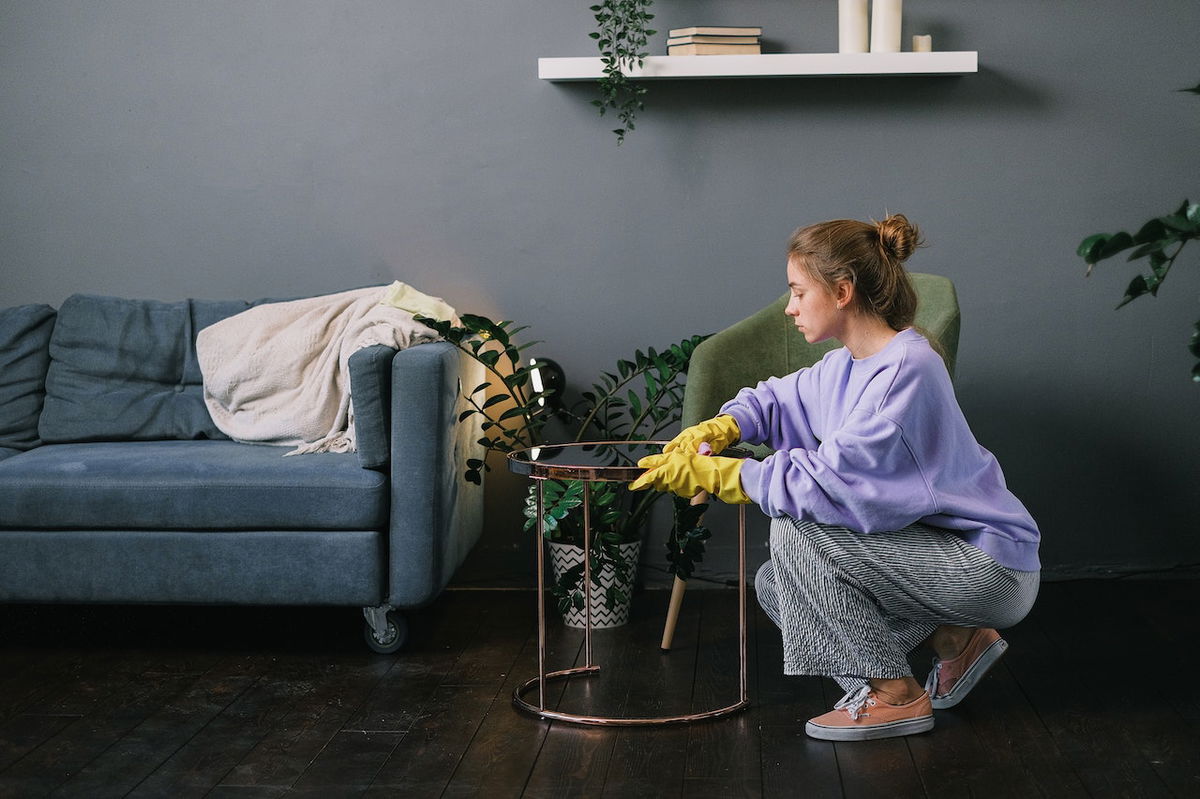
How To Clean a Cat Tree: A Step-By-Step Guide
Step 1: Preparation
Before you start the cleaning process, it’s always recommended to prepare your laundry area by clearing items near the cat tree.
This will create an ample working space and protect the other house items from spills occasioned by cleaning.
Ensure you have all your essential cleaning supplies ahead of time to guarantee a smooth experience and better results.
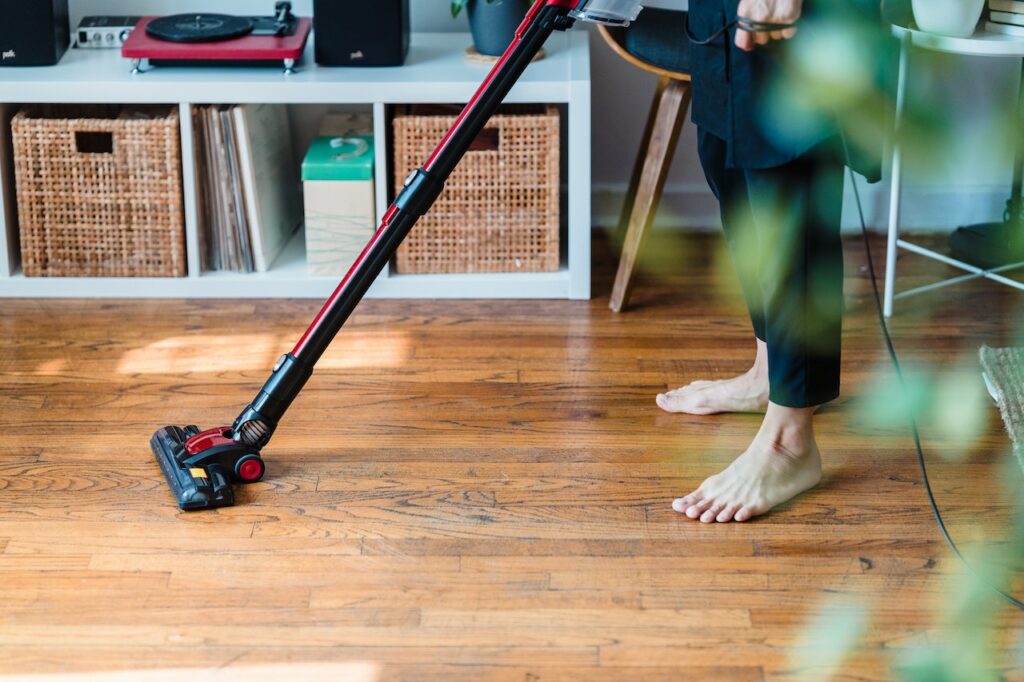
Step 2: Remove loose Debris
Use a vacuum cleaner to deal with loose debris from all components of the cat tree. This helps to remove pet hair and lose debris before the cleaning process.
You can also use a lint roller to remove stubborn pet hair in the nooks and hidden corners where a handheld vacuum cleaner may not reach.
Step 3: Spot cleaning
The visible dirt and accidental messes on your cat tree can be cleaned on the spot without waiting for the deep cleaning session.
This could be a wet accident on the platforms, a sticky paw print, or spilled wet food inside the nooks of the cat tree.
Spot-cleaning your cat tree will depend on the type of mess and the extent of damage it has caused.
If your cat has had a wet accident on the platforms, you can blot the messed areas with a damp piece of cloth to soak up the liquid.
Make sure not to rub the wet towel on the messed area since it could spread the mess and foul odor to other clean parts of the tree.
After cleaning up the spot stains with soapy water, it’s necessary to rinse the area to remove any soap residue.
Do this by wiping it down with a fresh damp cloth that has been rinsed in clean water.
Step 4: Deep cleaning
Deep cleaning of a cat tree involves a thorough washing of the entire structure and components from top to bottom.
This is mostly done on a monthly basis, depending on how frequently your cat uses the tree or how easily it accumulates tough stains over time.
The individual component materials making up your cat tree (such as posts, engineered wood, or sisal) should have different cleaning techniques, as outlined in subsequent steps.
Step 5: Disassembling the entire structure (if applicable)
The next thing you need to do is take apart the entire cat tree structure into pieces using handy tools such as screwdrivers.
You may need to refer back to your manufacturer’s guide for a clear procedure on how to disassemble without breaking a piece.
Disassembling the cat tree allows you to clean all the components, nooks, and crannies, without leaving a grime behind.
If your cat tree is too large or you don’t feel confident about breaking it apart, you can skip this step and proceed to the next.
Step 6: Cleaning individual components
All components of the cat tree including the fabrics, carpets, scratching posts, platforms, and hanging toys need to be cleaned.
A huge advantage for pet parents is that most cat trees are furnished with machine-washable fabric covers, carpets, and cushions.
Tossing the covers in a washer can save you time and ensure effective cleaning to remove the toughest stains without fraying the material.
If your fabric covers are not compatible with machine washing, you need to get your hands wet and do it yourself.
We recommend using pet-safe soapy water and a bleach solution (in the case of white fabric) when cleaning to ensure you get perfect results.
Make sure to rinse the fabric a minimum of two times with clean water, this will help to eliminate any residual detergent and maintain the freshness of the materials.
You can scrub wooden posts with a mild detergent solution and rinse thoroughly with clean water.
The sisal ropes covering the posts may require detailed cleaning to remove the attached grime and dirt.
Lack of proper care when cleaning the sisal ropes can cause them to fray or get loosened up.
Step 7: Washing or replacing cushions
Unzip all the cushions and clean the removable fabric covers by hand or toss them into a washer if compatible.

Step 8: Cleaning Cat Toys and Accessories
Mix a cup of vinegar with two cups of clean water and soak the plush cat toys in the solution for about 15 minutes.
Use clean water to rinse the vinegar and dirt from the cat toys then place them on an open space to dry.
Some cat toys are compatible to be washed in a machine, which can make it a lot easier especially if you have a handful of them.
Step 9: Sanitizing High-Touch Areas
Wiping down the components can help remove grime, but what about the microorganisms in high-touch areas?
Some of the high-touch areas on a cat tree include perches, scratching posts, and the interior part of hideout nooks.
These components are often laced with microorganisms because of the frequency in which cats love to walk or play on them.
Spraying a pet-friendly disinfectant on the high-touch areas can help deal with pathogens. You can also use hydrogen peroxide solution in a spray bottle to disinfect these areas.
Step 10: Inspection and maintenance
Watch out for signs of depreciation on the various cat tree components such as frayed carpets or damaged sisal ropes.
It is expected that the carpeted surfaces and scratching posts can get worn out over time, especially if the tree is used by active or multiple cats.
Make sure to inspect the individual components of your cat tree beforehand, to replace them when deep-cleaning the cat tree.
Likewise, if you find any components that are heavily soiled or damaged beyond cleaning or repair, you should consider replacing them to maintain the safety and comfort of your cat.
Step 11: Reassembling (if applicable)
Once everything is neat, you can now put back together the cat tree. Follow the manufacturer’s guide to ensure you get everything right when connecting the parts.
Double-check your connections to ensure all components are securely fixed and that the entire cat tree is freestanding without being wobbly.
A well-assembled cat tree ensures that your cat’s safety is guaranteed when jumping on the perches and scratching the posts on the tree.
Step 12: Final Touches
Once your tree is fixed and restored to its condition, you can do a round of final touches to ensure everything looks great.
Make sure to vacuum clean the surrounding area to get rid of pet hair and other loose dirt that may have scattered around during the deep cleaning process.
Step 13: Drying and ventilation
Open the nearby windows for all components and the entire tree to air dry completely, don’t allow your cat to use the tree before it fully dries out.
Drying is essential because it prevents the growth of molds which can lead to serious issues for both the pets and the human family.
How to Clean a Cat Tree from Fleas
Infestation of fleas can be detrimental to your cat’s health and comfort. These tiny parasites can invade your cat’s tree and turn it into a source of discomfort rather than comfort.
Some of the common signs that your feline friend is infested with fleas include excessive scratching, and licking of the affected areas.
The following is a proactive approach you can adopt to deal with flea infestation in your cat tree:
Step 1: Vacuuming
Vacuuming the cat tree components with a handheld vacuum cleaner can make a huge difference for your furry pal.
A good vacuum cleaner will not only eliminate adult fleas, but it will also suck the flea eggs hiding beneath the plush carpeted surfaces and crevices.
Step 2: Use a disinfectant
After running a vacuum through the entire cat tree, you can spray the whole cat tree with a pet-safe flea treatment solution.
Choose a disinfectant with the potential to kill adult fleas, eggs, and larvae for the best results possible. Most flea treatment solutions can also kill other microorganisms.
Dip the rag in clean water to rinse down the soapy content and wipe through with a clean towel before allowing it to dry.
Step 3: Clean the surrounding area
Fleas can spread across various areas around the cat tree, making it highly important to sanitize the immediate area to prevent further spread.
You can use a vacuum cleaner to remove the annoying insects from the upholstery around the cat tree and wipe down the structure using an insecticidal detergent.
How to Clean a Cat Tree from Ringworms
Cat trees are potential sites for harboring the highly transmissible fungal infection known as ringworms. This can pose a huge health risk to your furry friend and human family members.
Some visible signs of feline ringworm infections include crusty patches on the skin, rashes, rounded bare skin with hair loss, and excessive grooming.
The following practical approach can be used to deal with this persistent feline fungus.
Step 1: Isolate the cat tree
Immediately after identifying a potential ringworm infestation on your cat tree, you need to remove the entire structure to an isolated place for deep cleaning and disinfection.
This is critical in preventing the fungus infection from scattering around to cause harm on household pets and humans.
Step 2: Vacuuming
Run a handheld vacuum through the entire tree surfaces to clean up the fungus from the infested regions.
Ensure you reach into the crannies and every hidden corner of the tree to ensure effective results.
Make sure to put on your protective gear, including a pair of gloves, face mask, and goggles to prevent the fungal infections from spreading to your body.
Once you are done with the vacuuming process, we recommend you dispose of the collection bag immediately to prevent the contaminants from dispersing onto the surface once again.
Step 3: Clean with a fungicidal detergent
Get a pet-friendly fungicidal solution to thoroughly wash every component of your cat tree to effectively deal with the persistent fungal spores.
Antifungal laundry detergents are specifically formulated to kill the fungi spores by destroying their cell membrane.
A word of caution: If your cat tree is heavily infested with ringworms, we recommend seeking the services of professional cleaners or finding a replacement tree.
Helpful Tips on How to Maintain a Cat Tree
Regular cleaning schedule
Have a regular cleaning schedule for your cat tree and stick to it as much as possible. This helps to prevent the buildup of dirt and harmful pathogens.
You can spot-clean your cat tree weekly or as needed, but deep cleaning can vary between one or three months, depending on how quickly the tree gets dirty.
Tips for preventing excessive cat tree wear and tear
Don’t overload the tree with multiple cats against the recommended weight capacity.
We also suggest trimming your cat’s nails regularly to prevent them from tearing the covering fabric apart when playing on the tree.
If your cat tree doesn’t have enough scratching posts, we strongly recommend that you provide your cat with adequate alternatives such as scratching pads to vent out their desire to claw.
Checking for signs of damage
A damaged or fragile cat tree is a potential source of danger to your furry friend. For this reason, we recommend monitoring the components regularly to check for signs of wear and tear.
If the cat tower appears wobbly, you can double-check the screws and bolts to ensure they are tightened to restore stability and safety.
Monitor the fabric covers on your cat tree for worn-out or torn parts. Repair them, if possible, but you will be on the safe side if you invest in quality replacement parts.
Frequently Asked Questions (FAQs)
1. How often should I clean my cat tree?
The frequency of cleaning your cat tree depends on several factors including how often your cat uses it and how fast it accumulates dirt.
Cat urine and wet food spills should be spot-cleaned as soon as possible to prevent the build-up of bad odor and attraction of germs.
We recommend removing pet hair and pet dander from the hideout cubes and hidden corners of your cat tree at least once every week to prevent a buildup of allergens.
It’s good to deep-clean your cat trees every month or thereabout to remove the toughest stains and refresh all the components.
2. Can I use household cleaning products on my cat tree?
You can use some household laundry products to clean your cat tree, but you need to ensure they are pet-friendly.
However, most household care products are made with harsh chemicals that may irritate your cat and cause potential skin issues.
If you have to use homecare products, make sure to rinse every component with plenty of water at least twice to remove all soap residue before airing them out to dry.
3. What should I do if my cat tree is damaged during cleaning?
Assess the damage to check if the affected components can be replaced. Most manufacturers sell replacement parts at a good price, but you can also get stock parts at a nearby pet store.
Having prior knowledge of how to build a cat tree can help you fix replacement parts at home or implement full repairs.
If the damage is too huge to compromise the safety of your cat, you’re better off disposing of the tree than risking the safety of your furry friend.
Conclusion
Learning how to clean a tree is a huge step in the right direction toward achieving a clean environment for your cat and reducing the risks of possible infections.
Cleaning your cat’s furniture also goes beyond the aesthetic restoration, it helps reduce pet allergens, which can cause harm to allergic people in your house.
Our comprehensive guideline outlines various steps you can take to deal with immediate messes and thoroughly clean your cat tree without compromising structural integrity.
Cleaning the cat tree also gives pet owners the chance to inspect all the components and replace the worn-out ones to ensure the cat’s safety is not compromised.
Laura is the founder of Furs'n'Paws. She is a also a pet writer and expert with more than 20 years of experience of working with dogs and cats. She developed a very strong love for animals at a young age. Her passion led her to establish a thriving pet sitting and dog walking business in Dubai. As an expert in pet training, behavior, and nutrition, Laura is committed to helping pet owners and pet lovers by offering high-quality information on a wide range of topics.
No responses yet